
Let’s Get Crafty: How To Make A Recycled Hair Scrunchie

Apr 19, 2021
By ScottH
Over the past year, we’ve all had more time to focus on the things we love doing the most, whilst finding new hobbies we wouldn't normally have the time to do. From DIY and gardening, to sewing and baking, the nation has a new found love for being creative!
Lizzy, our marvellous Marketing Executive, has used this time to rekindle her love of sewing and has created her very own small craft business called Oh So Wonderful, selling handmade items such as hair accessories, gifts and home décor items on Etsy and Instagram.
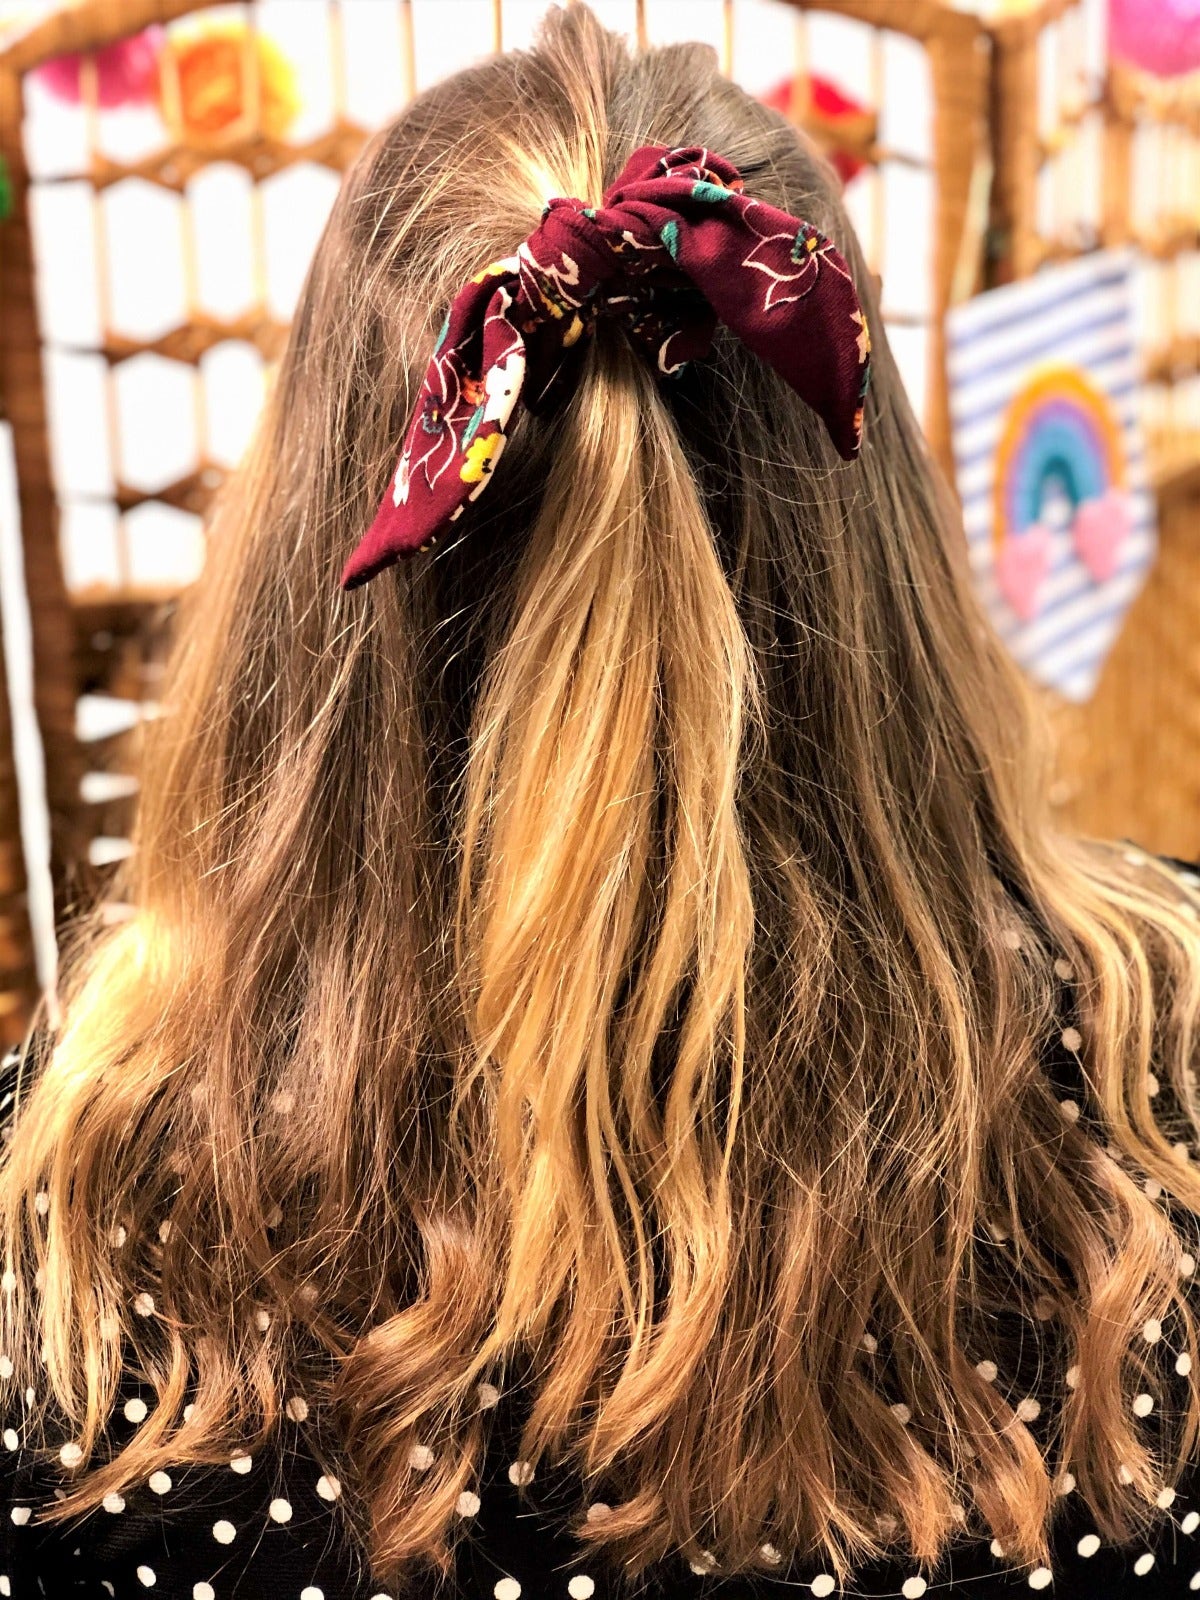
One of her favourite things to make are hair scrunchies, so we asked her to show us how it’s done. Grab an old dress and a sewing machine (you’ll only need basic sewing skills!) and get ready to create your own recycled hair scrunchie with bow detail…
The best part about creating hair scrunchies is that they’re super easy to make and you don’t need a lot of fabric, which means you can cut up old clothing or use scraps you already have. I love colour and prints, so using an old Joe Browns jersey dress is perfect – if you can manage to part with it!
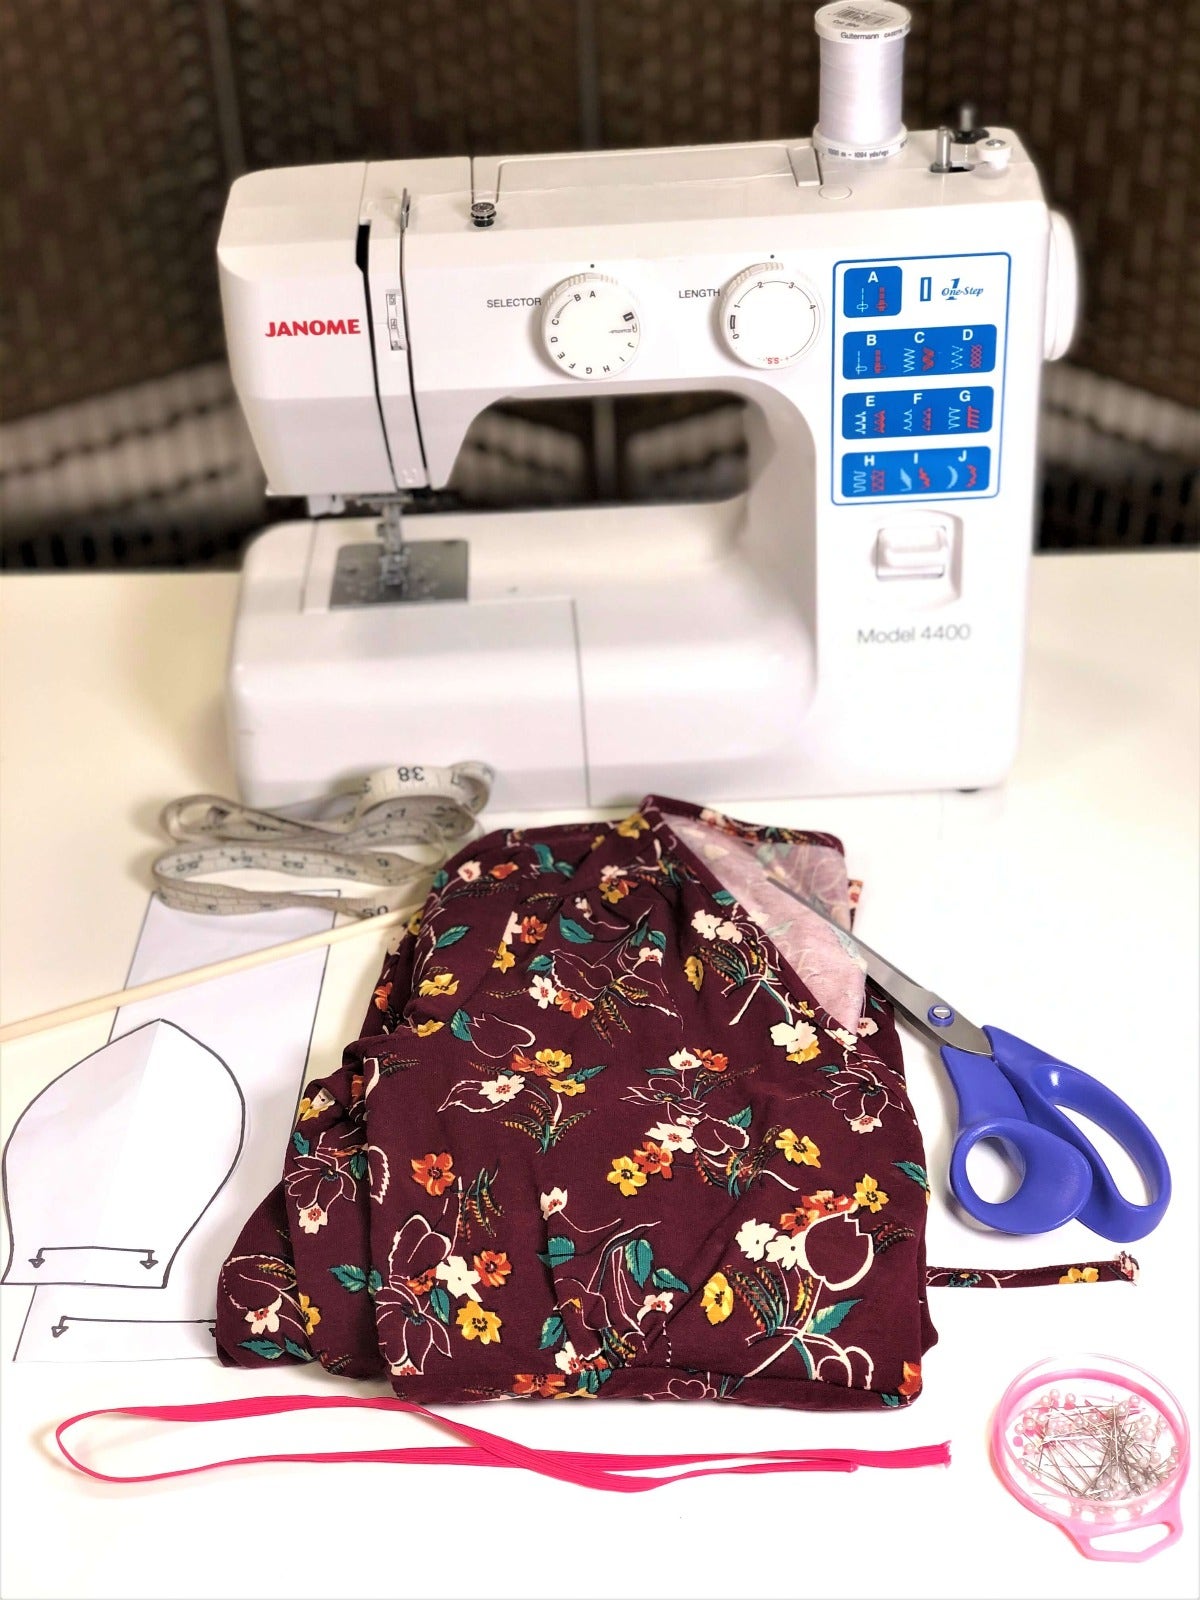
Everything you will need:
-A sewing machine and thread.
-The scrunchie pattern pieces (which you can download here).
-An old dress or scraps of fabric (jersey or cotton is best).
-Elastic.
-Scissors.
-Pins.
-Tape measure.
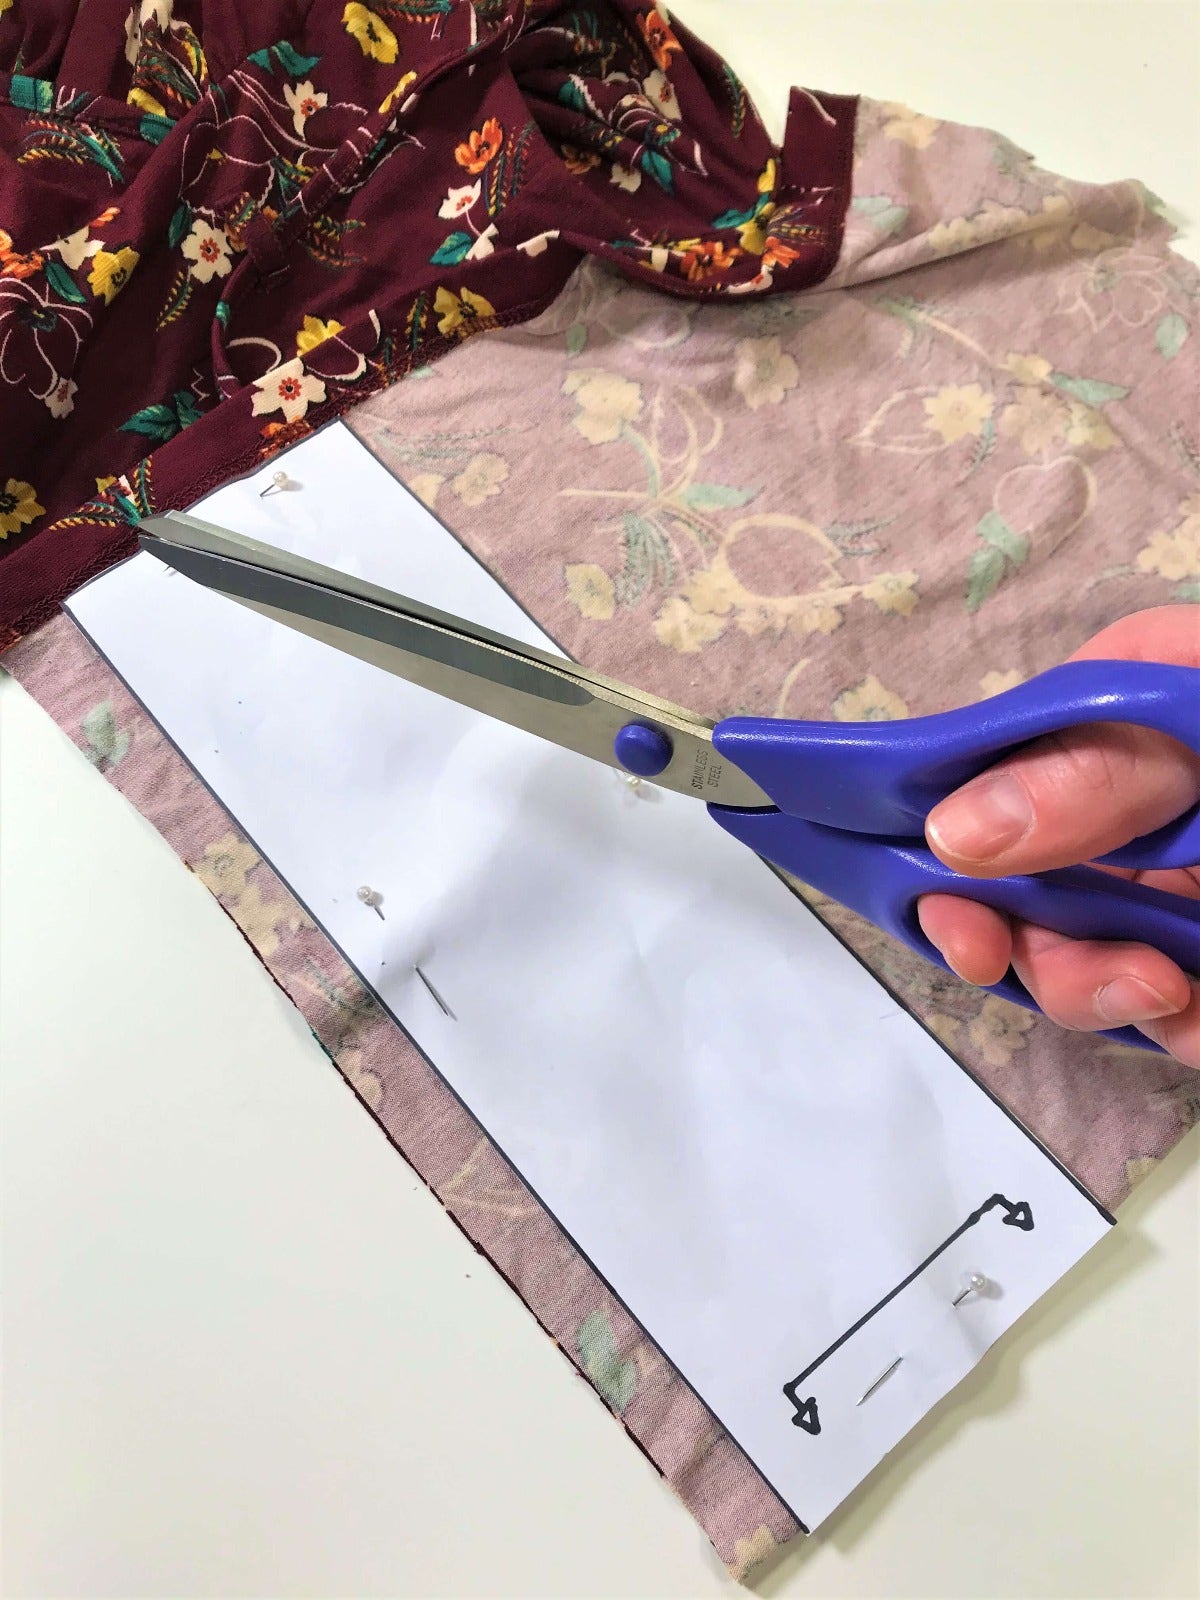
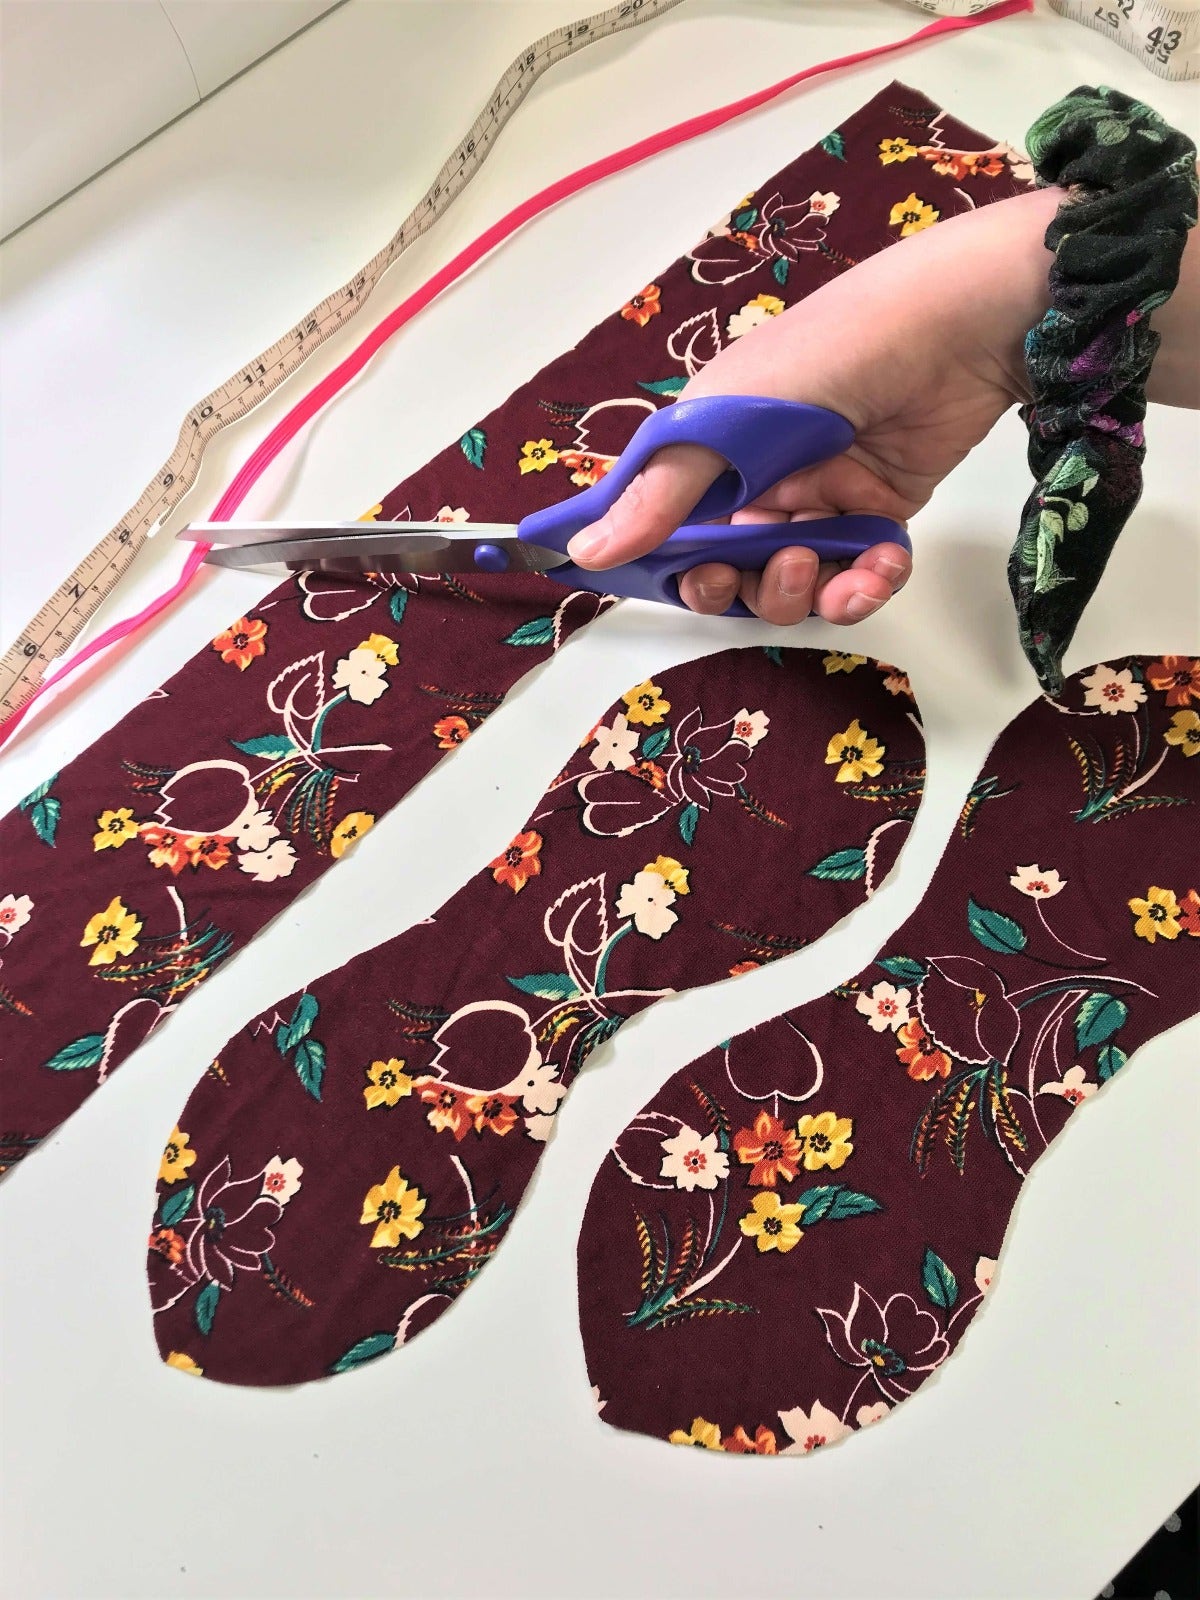
Step 1
If you are using an old dress, cut up the sides so you can lay the fabric flat. You then need to fold the fabric, right sides together and lay the first pattern piece (the scrunchie) on the fabric fold. Pin in place and then cut around the edges to get your first fabric piece.
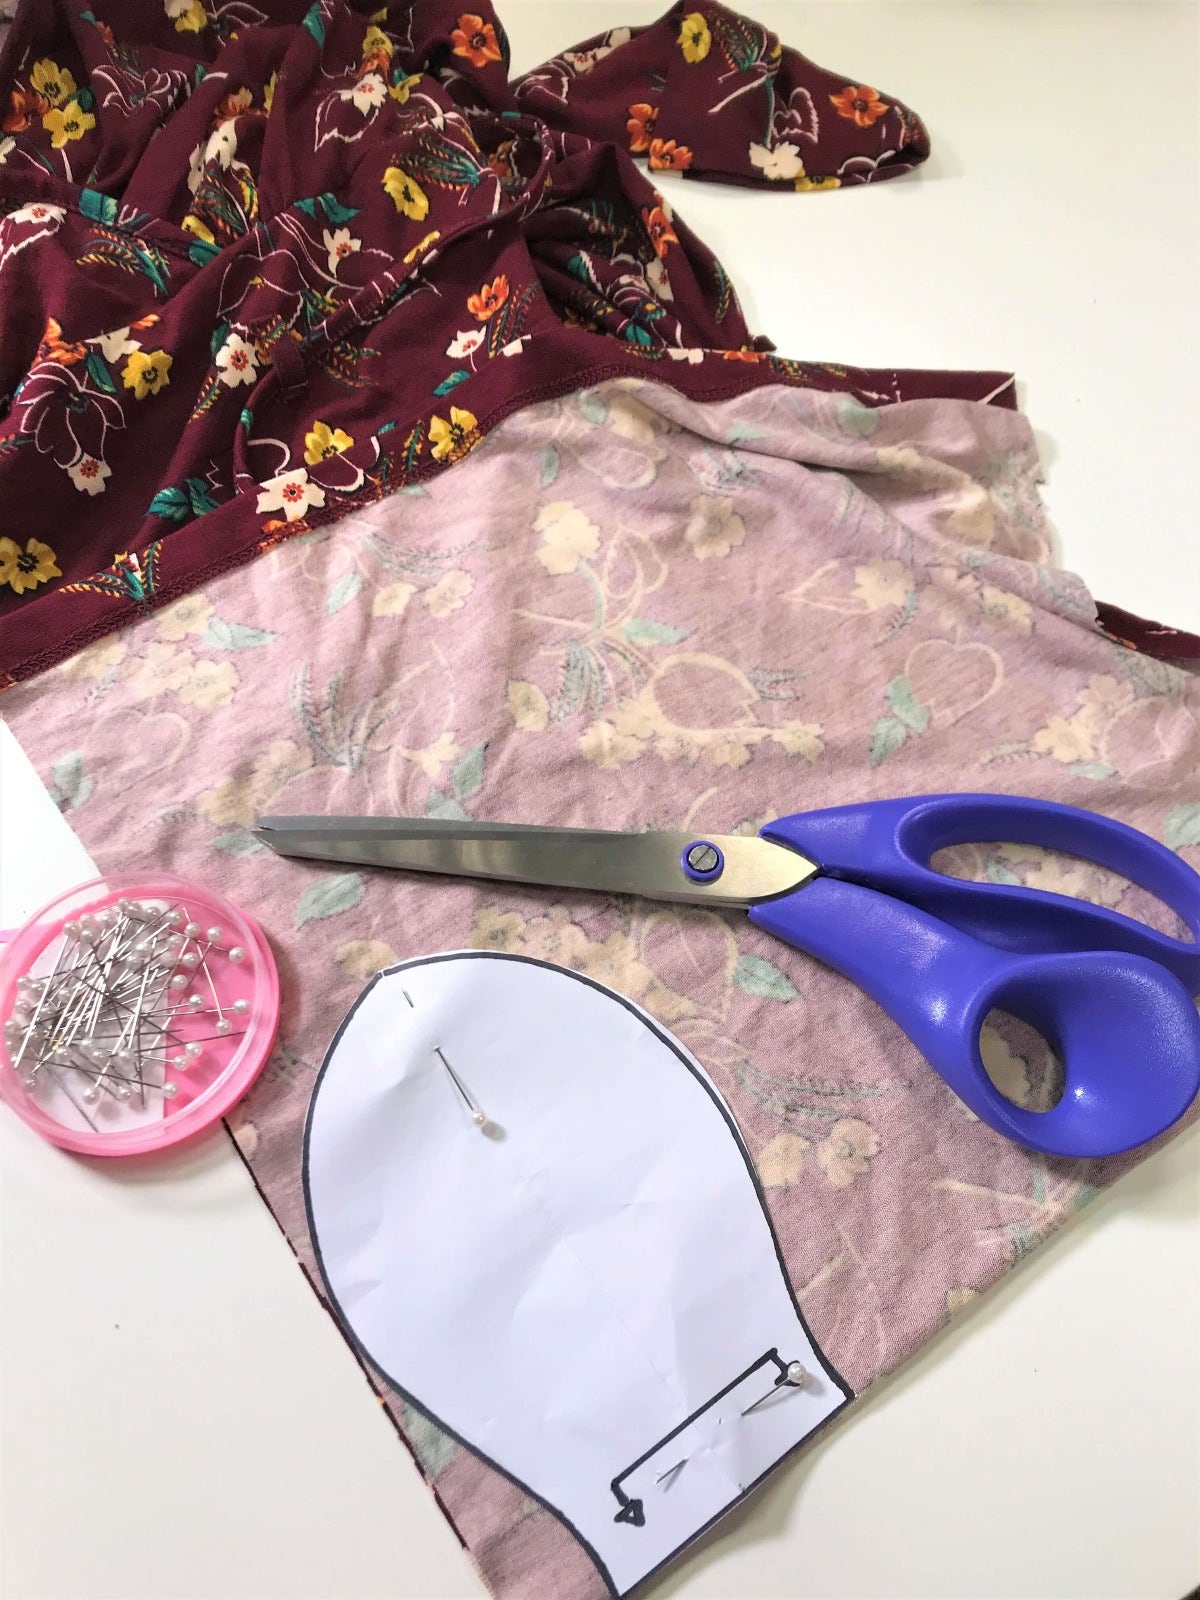
Step 2
Next, take the second pattern piece (the bow), place on the fabric fold and pin and cut around the edges. Then repeat this step, so you have x 2 of the bow fabric pieces.
Step 3
You will then have x 3 fabric pieces ready to sew. Before you do this, measure and cut a piece of elastic that’s 8 inches long.
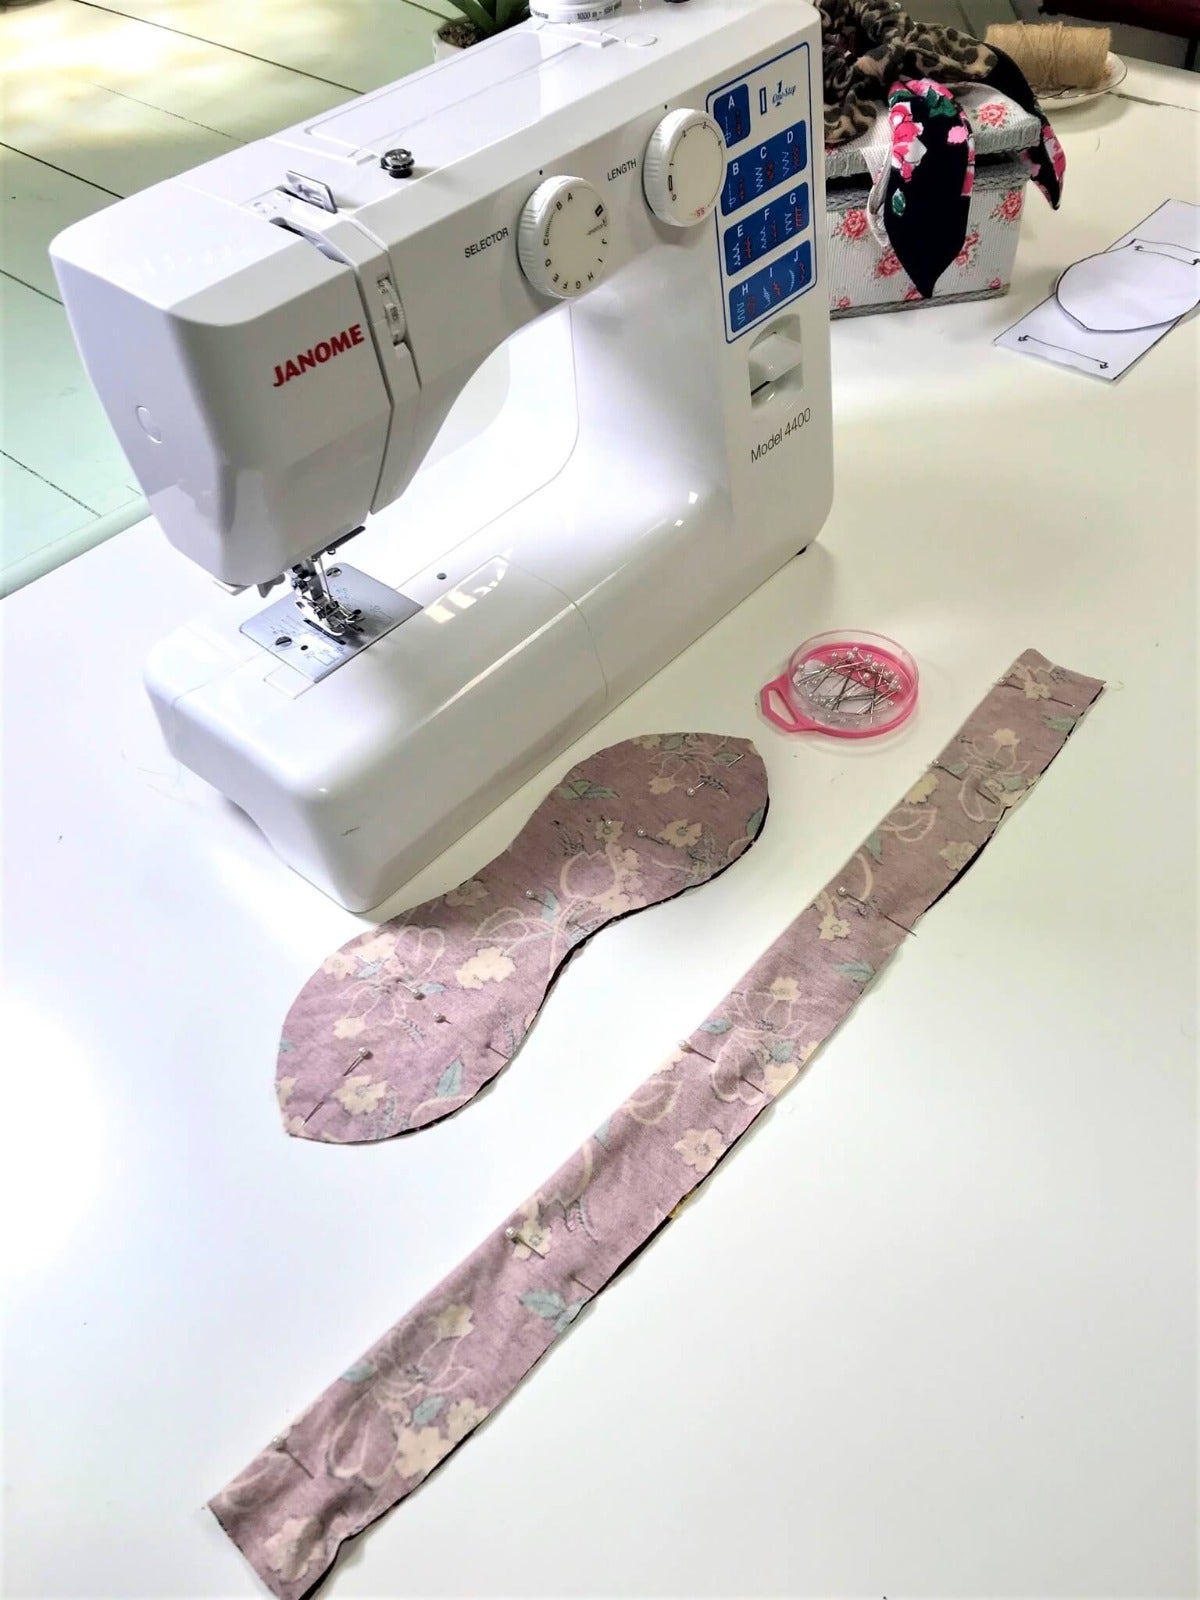
Step 4
The trick is to pin all your pieces in place before you start sewing – it makes things a lot easier!
Pin the two bow pieces together, placing the right sides of the fabrics together. Then fold the long scrunchie piece lengthways, making sure the right sides are together.
Step 5
Now it’s time to get the sewing machine out – my favourite part! Sew 0.5cm around the edge of the bow pieces but make sure you leave a small gap to turn it the right side out (tip; don’t forget to trim the edges, this will help it look really neat).
Then sew 0.5cm down the open edge of the long scrunchie piece and turn right side out.
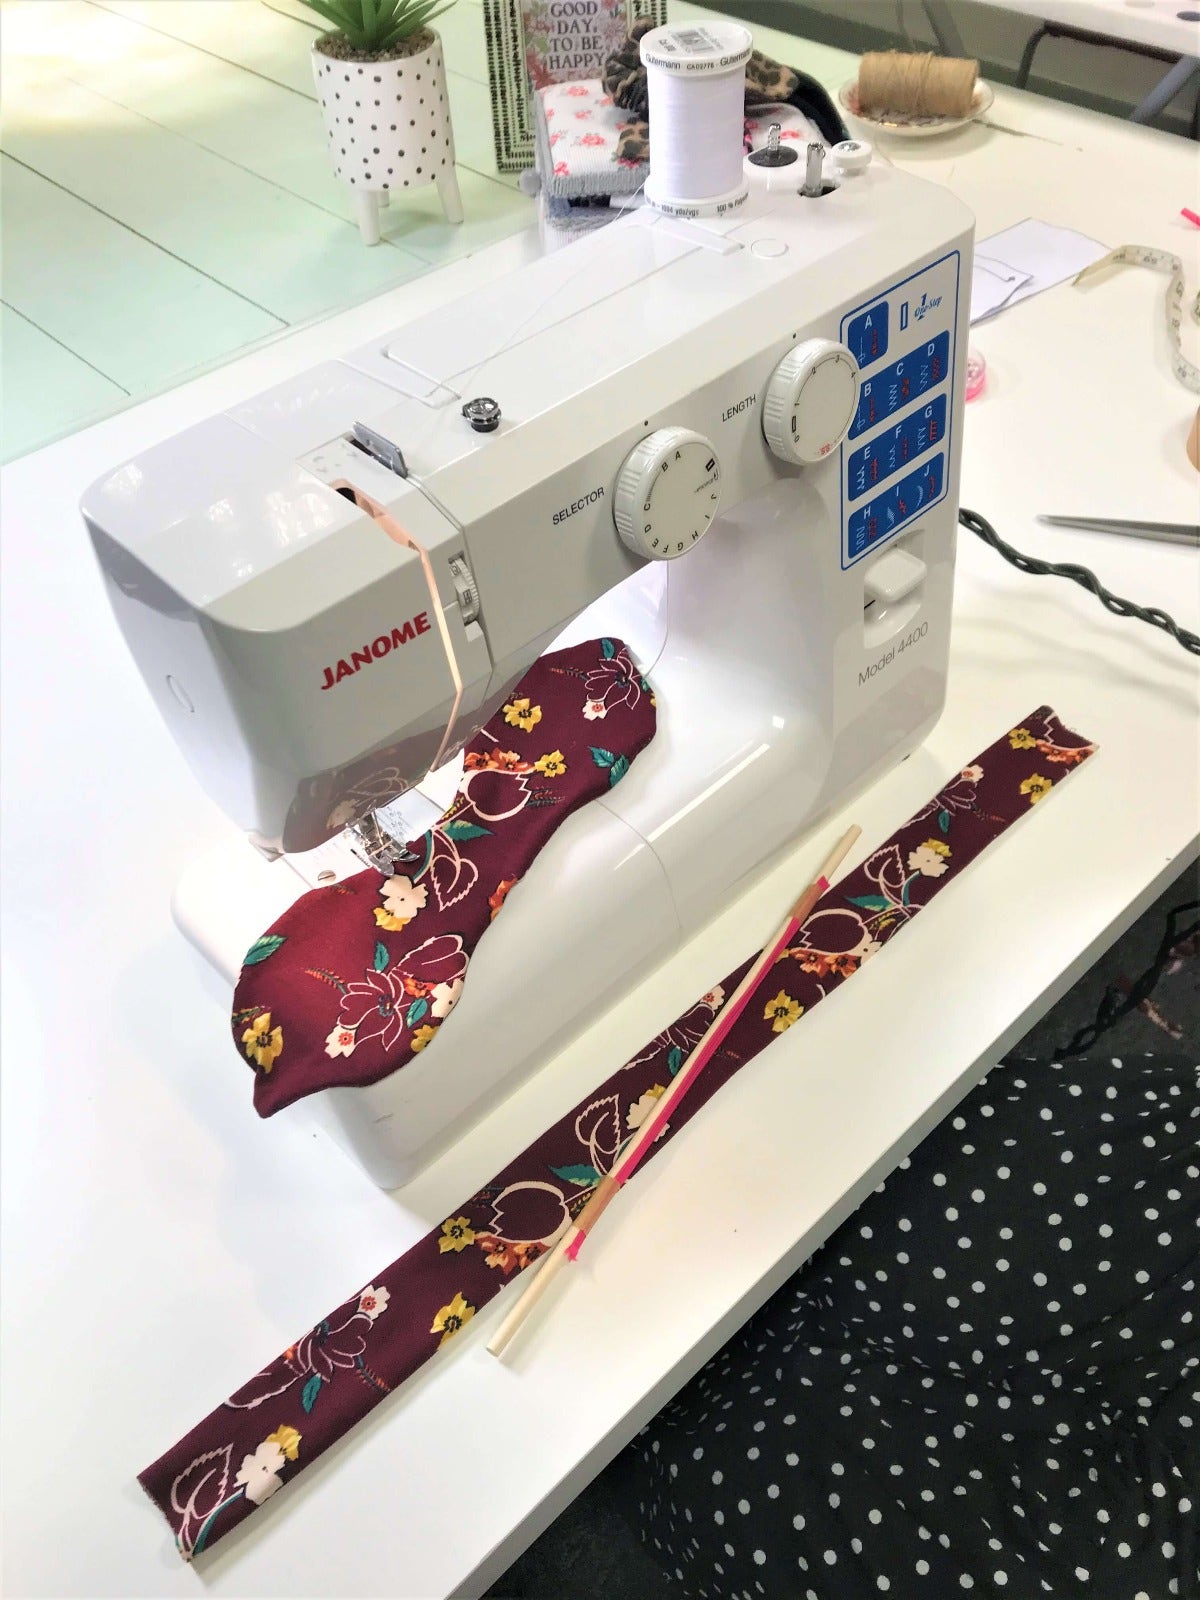
Step 6
You’re now one step closer to having a finished scrunchie and as you can see it’s really starting to take shape! To finish the bow piece, all you have to do is top stitch the small gap that was left open (using a thread that matches the fabric so it looks neat).
Step 7
Next, thread the elastic through the long scrunchie piece. A little trick of mine is to tape the elastic to a long rod - it makes it so much easier and a lot quicker. Once this is done, sew both ends of the elastic together, making them really secure.
Step 8
You then need to top stitch the two ends of the scrunchie together, making sure the edges are turned in to achieve a nice, neat finish.

Step 9
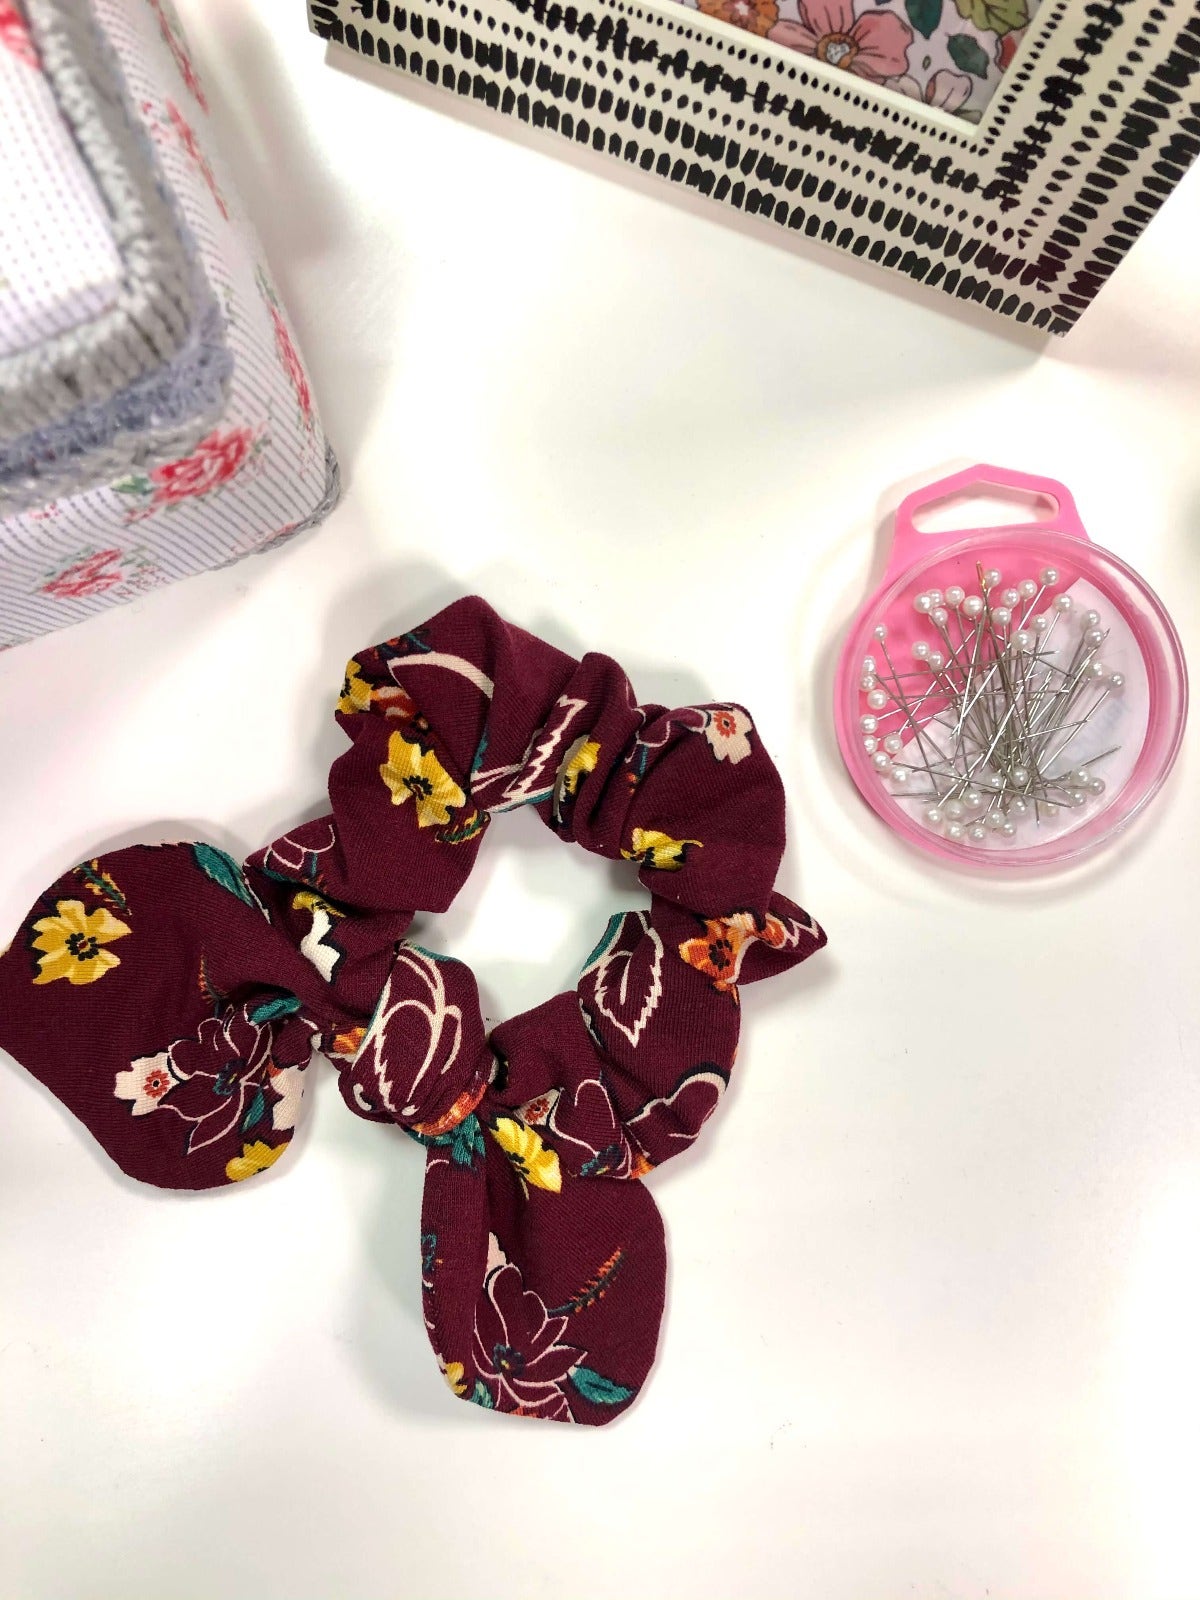
Finally, tie the bow around the scrunchie to create your finished piece!
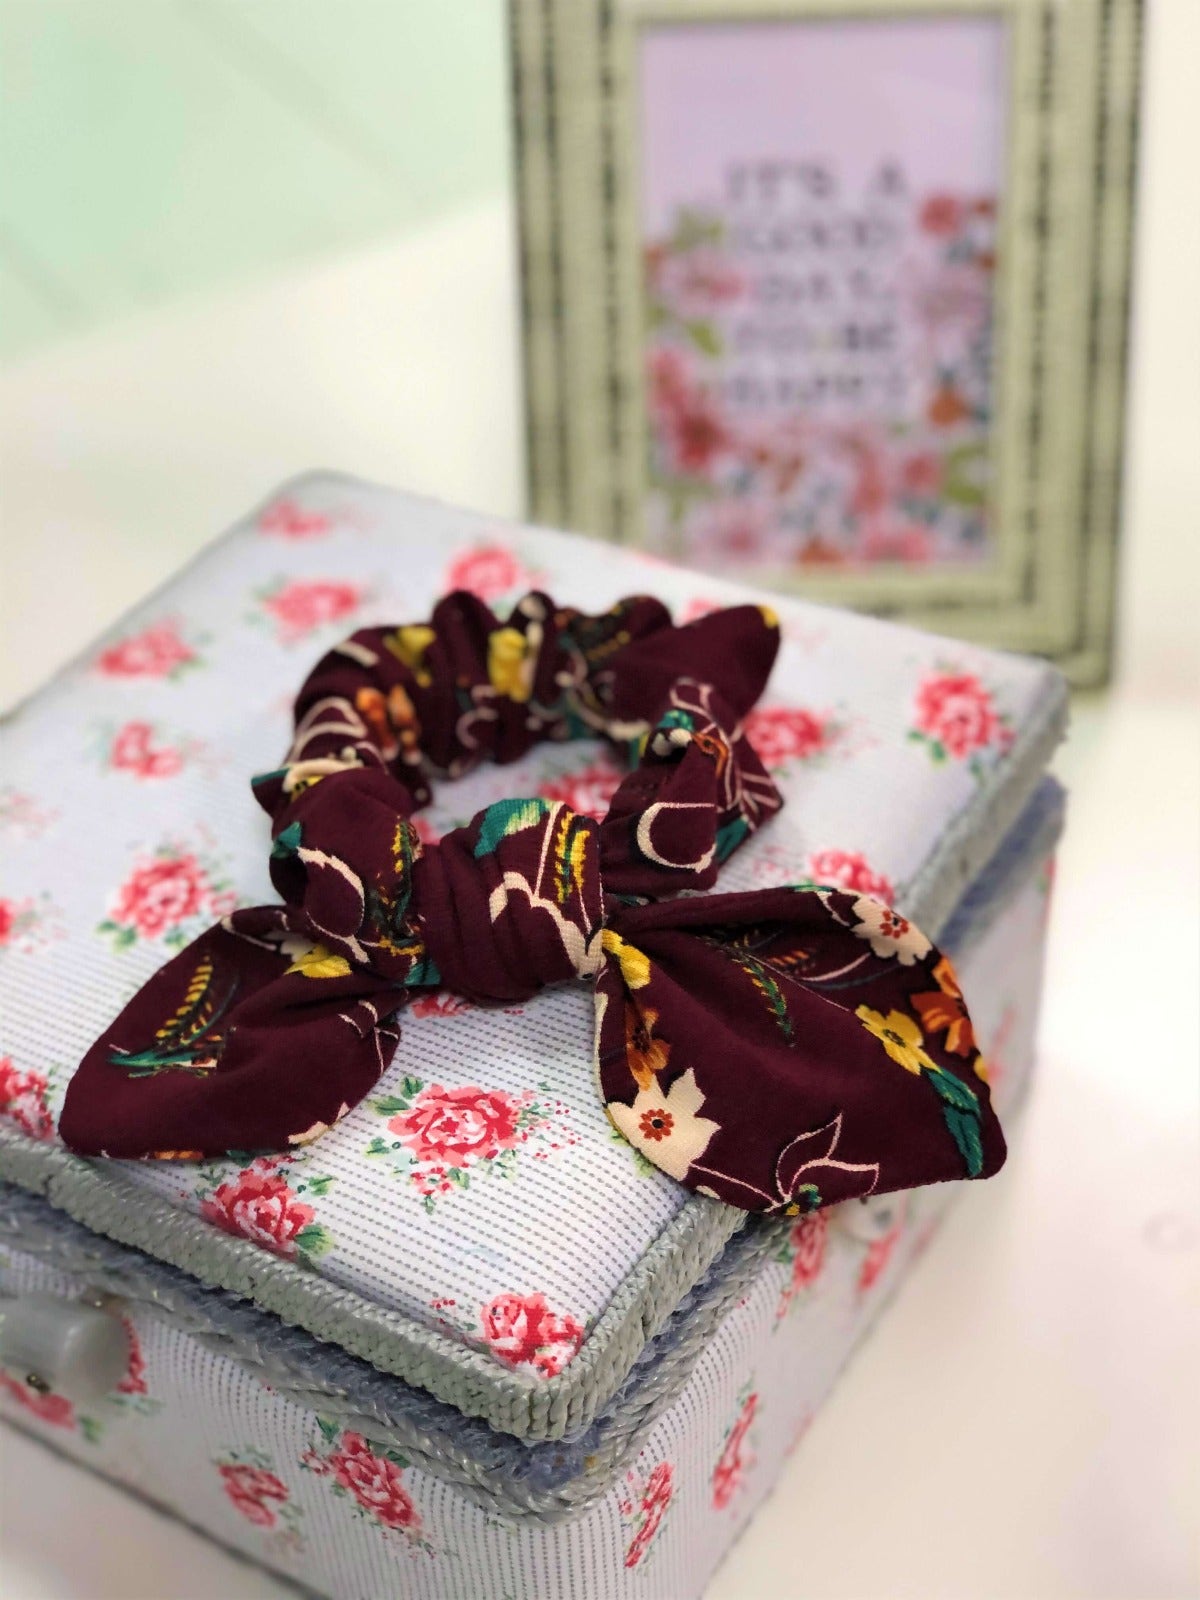
We hope you’ve enjoyed learning how to upcycle a dress into a hair scrunchie and we hope it’s inspired you to get crafty!
If you fancy having a go, don’t forget to share your crafty creations with us on our social channels @joebrowns or in the comments below – we’d love to see them!
Keep your eyes peeled for more craft inspired blogs coming up very soon…
Scroll to top
-
- Latest Inspiration
- How to Wear and Style a Boho Dress
- How to Style a Jacket with a Spring Dress
- A Guide to Styling Heritage Jackets
- 6 Timeless Ways to Style a Leather Jacket
- The Detail Behind Our Dolce Vita Dress
- How To Style Red
- Valentine's Day Styles To Fall In Love With
- The Story Behind Our White Blouse
- 8 Ways to Style Your Favourite White Blouse
- Colour Edit: Shades Of Indigo
- Give Winter The Boot
- Spring Womenswear Top Picks
- Spring Menswear Top Picks
- 10 Ways to Welcome Boho Style Into Your Wardrobe
- View Our Inspiration & Ideas


