Your Shopping Bag

- Women's
Shop All Women's
- Shop New Arrivals
- Shop All Women's
- Shop By Category
- Dresses
- Shoes, Sandals & Boots
- Tops, Tunics & Blouses
- Accessories & Jewellery
- Knitwear & Cardigans
- Handbags & Purses
- Jackets & Coats
- Loungewear & Pyjamas
- Skirts
- Swimwear
- Gifts
- Boutique Collection
- Jumpsuits
- Petite Collection
- Blazers
- Limited Edition
- Jeans & Trousers
- Invited Guests
- Waistcoats
- Leather Jackets
- Denim Styles
Gift Vouchers
- Men's
Shop All Men's
- Shop New Arrivals
- Shop All Men's
- Shop By Category
- Shirts
- Shoes, Boots & Trainers
- T-Shirts & Tops
- Accessories & Jewellery
- Polo Shirts
- Henley Tops
- Jackets & Coats
- Leather Jackets
- Knitwear
- Gifts
- Hoodies & Sweatshirts
- Buy 2 Basic Tees For £25
- Jeans & Trousers
- Buy 2 Graphic Tees Save £10
- Tailoring
- Waistcoats
- Invited Guests
- Blazers
- Denim Styles
- Shorts
Gift Vouchers
- Footwear
- Home & Garden
Shop All Homeware
Gift Vouchers
- Postal Gift Vouchers
- Email Gift Vouchers
- Garden
- Shop By Collection
- Shop Garden New Arrivals
- NEW Big Kids
- Garden Cushions, Rugs & Throws
- NEW Tropical Haven
- Garden Seating
- NEW Prim And Not So Proper
- Garden Accessories
- Wanderlust
- Garden Dining Sets
- Sakura
- Shop All Garden
- Sicilian Dreams
- Shop All Garden
- Invited Guests
- Shop By Room
- Garden
- Bedroom
- Living Room
- Kitchen
- Gifts
- Inspo & Ideas
Latest Inspiration
- How to Style Pumps For Casual Everyday Wear
- Dresses For Every Destination
- How to Match Your Holiday Dress to Your Holiday Cocktail
- How to Master the Shirts and Shorts Combo
- How We Reimagined Your Favourite Joe Browns Dresses
- 5 Fun & Easy Ways to Customise Your Outfits
- What Makes Our Swimwear Uniquely Joe Browns?
- The Story Behind Our Festival Jacket
- The Joe Browns Guide to UK Music Festivals
- How to Dress Like Your Favourite Music Icons
- 10 Ways to Welcome Boho Style Into Your Wardrobe
- More Inspiration & Ideas
Let’s Get Crafty: Watercolour Painting Tutorial

Jul 23, 2021
By Jodie B
It’s time to get your paint on!
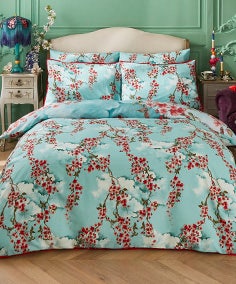
The fabulous @hollyofalltrades is back providing us with plenty more crafty inspiration, this time with a step by step guide on how to paint a beautiful peacock feather design using watercolour paints - inspired by our Nouveau Peacock Bedding from our amazing Abstract Deco homeware range!
Caught your interest? Follow the instructions below and give it a go!
What you’ll need:
Watercolour paint palette
Watercolour paper
Watercolour paint brushes
Paint mixing palette (a few plastic plates will work just fine)
Gold gel pen
Black felt tip pen
Kitchen roll
A glass or pot of water
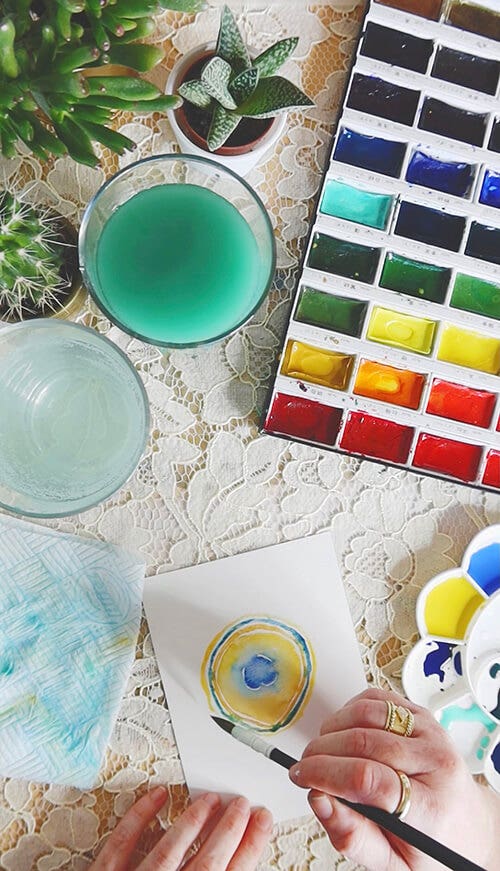
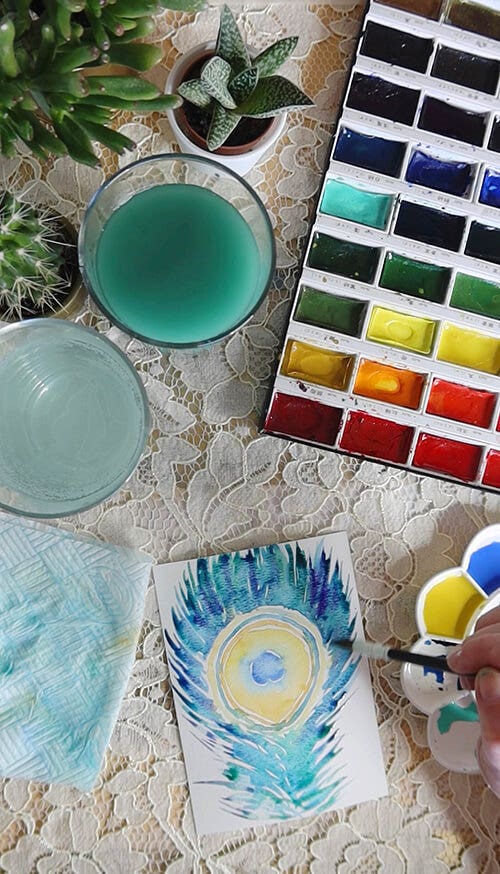
Step 1:
Using a mixing palette, mix your desired paint colours together with a paint brush. For a peacock feather, Holly recommends a mix of turquoises, deep blues and yellows.
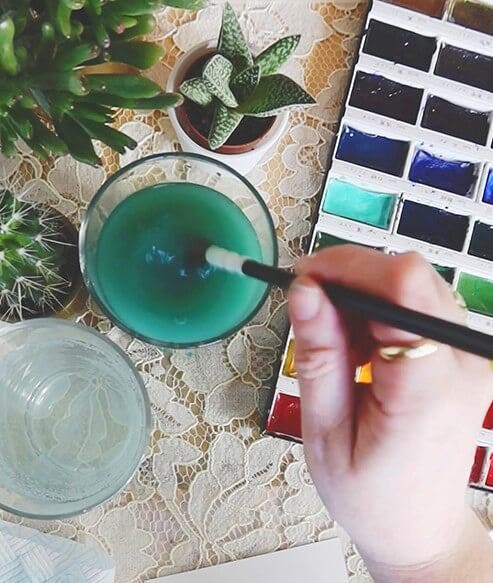
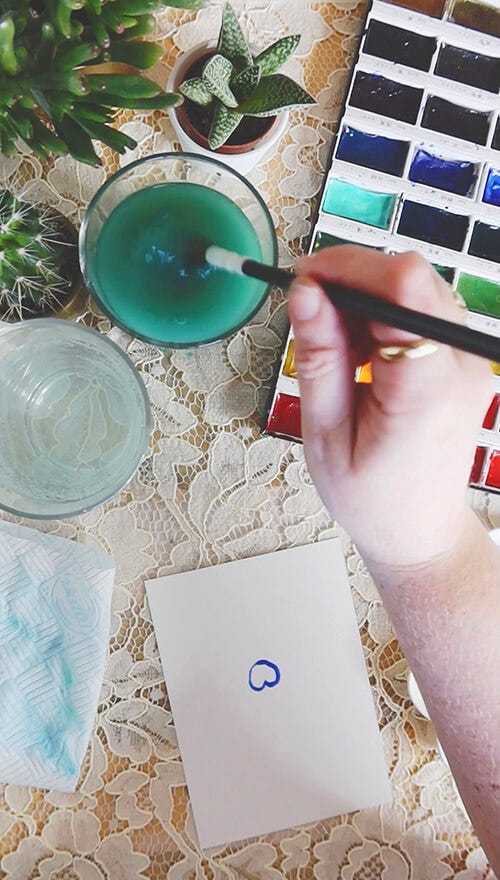
Step 2:
Using the darker blue paints, paint the shape of an upside-down heart. When done, rinse your paint brush in water until it’s clean and then use it to smudge the blue paint from the outline into the centre. Repeat this until the shape is filled in.

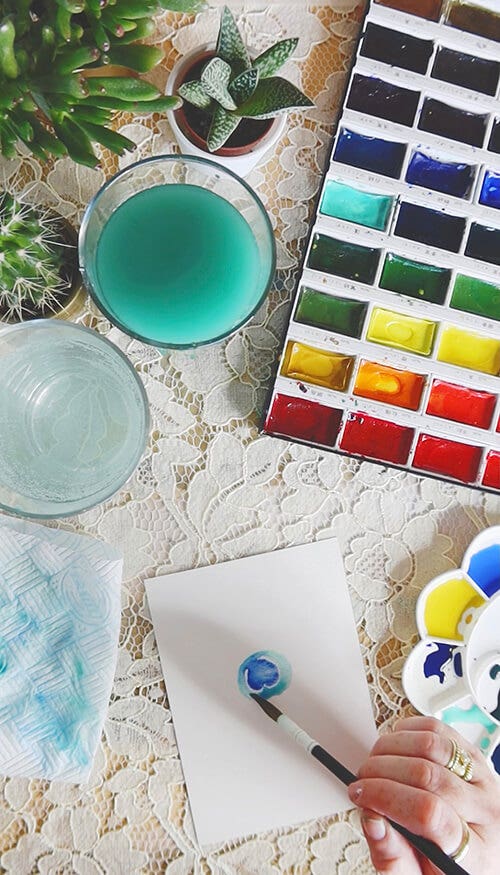
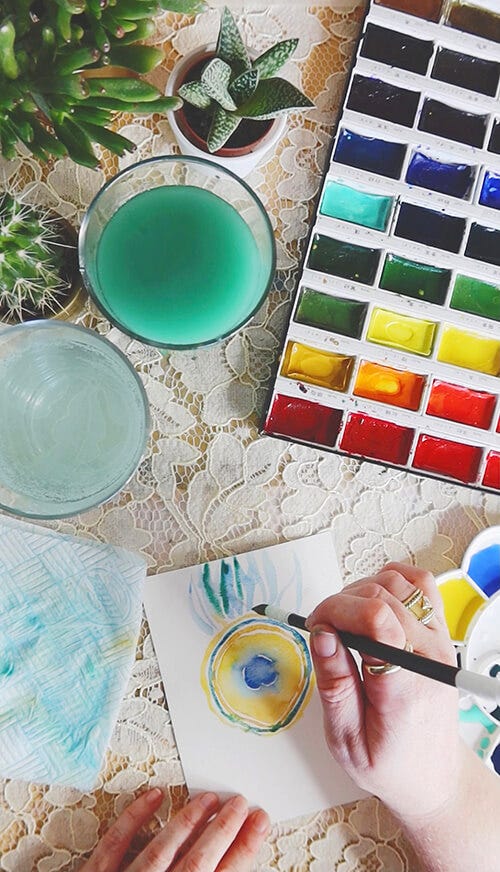
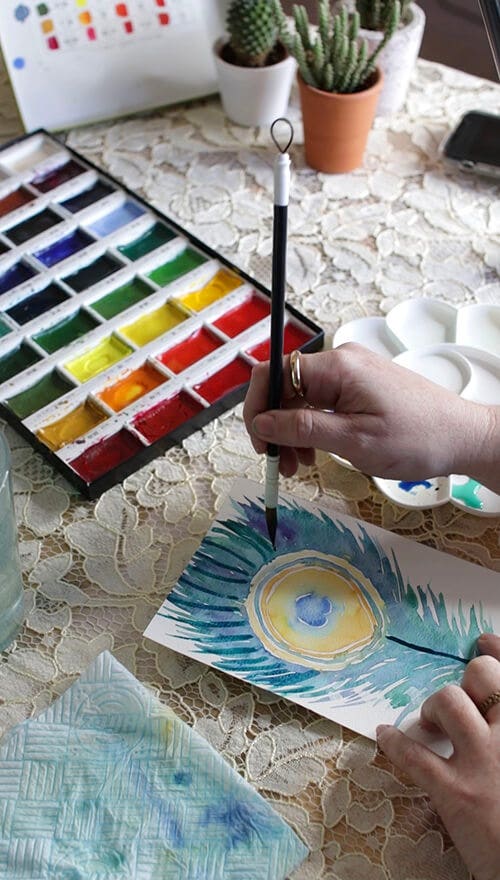
Step 3:
Using a darker blue paint, outline the edges of the upside down heart. Once done, add a few more drops of water to your paint brush to slightly blur the shape – this makes the lines appear less sharp for a softer look and feel.
Repeat the process with a turquoise paint - painting a circle around the upside down heart. Next, blur the paint towards the centre of the heart using a clean and wet paint brush.
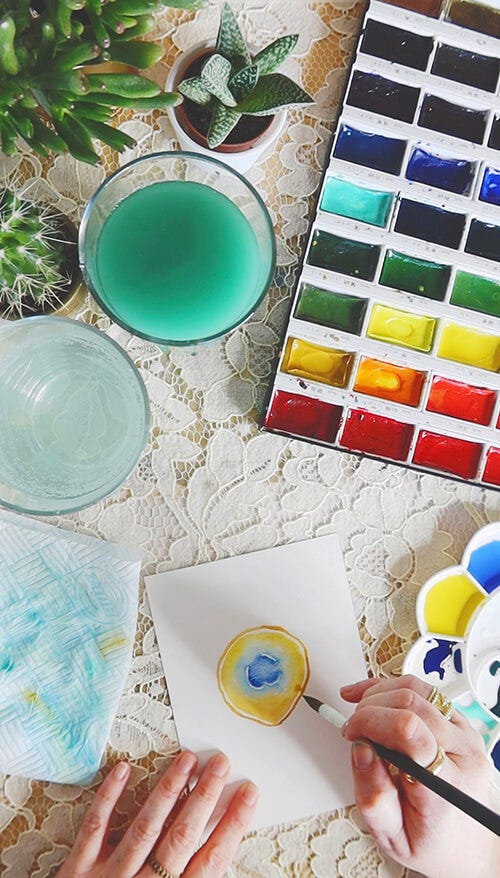
Repeat again, this time with a yellow paint to create another circular outline, adding a little water as you go to blur the edges.

Step 4:
With a slightly darker yellow paint (mix green and blue together if you don’t have one) create an outline around the outer yellow circle and use your paint brush to add a pointed bottom to the shape. Using a paint brush and a little water, smudge the yellow outline into the centre to fill in the space with colour once again.
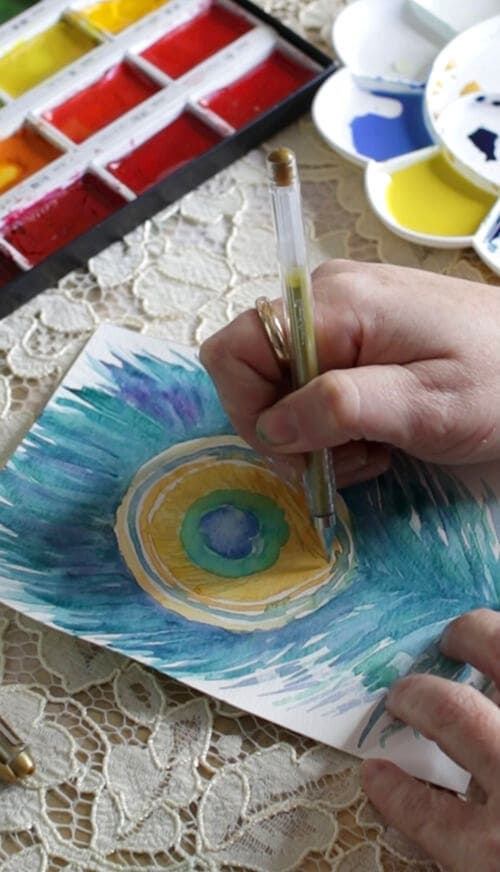
Step 5:
Using the tip of a paint brush, paint a few more circles (roughly 3-4) in alternating colours of your choice to outline the shape. Here, Holly used ochre yellow followed by blue and green.
Step 6:
Now it’s time to paint the feathers. Using a mix of blues and greens, use a paint brush to create some upward lines. Use the tip of your brush to flick out at the end of each line to mimic the shape of a feather. Holly suggests painting the feathers in chunks at a time. This is so the paint stays moist and the colours from each line blend well together.
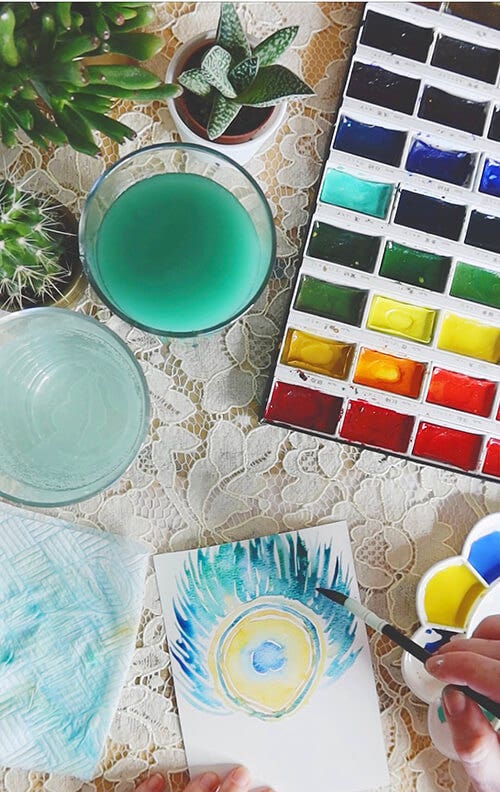
Step 7:
Repeat the process at the bottom of the feather, painting outwards and keeping the brush strokes light as this is the base layer. Once the base layer has dried, paint over it using thicker strokes to build up the blue and create more depth to the feathers.
Step 8:
Once done, let the paint dry. You can do this naturally or for speedy results, use a hairdryer.
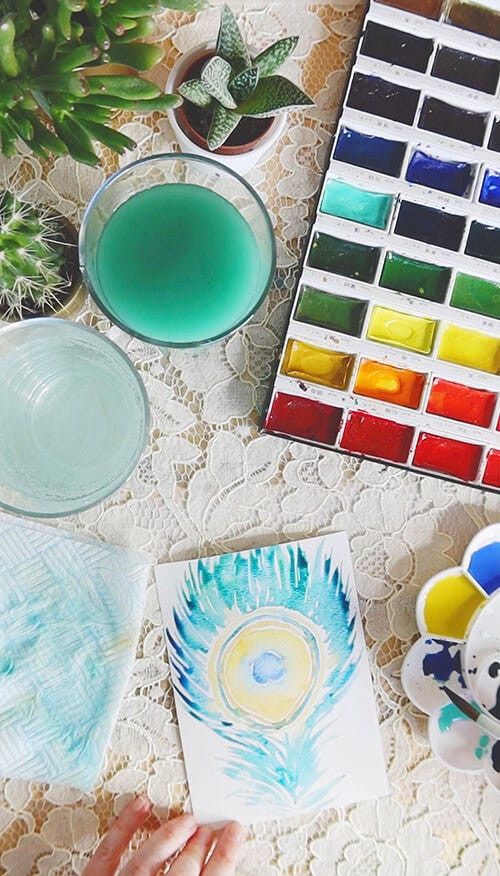
Step 9:
Continuing to use blues and greens, paint a few more upward and outward strokes to create some darker sections. This will add further depth to the feathers. Repeat the process in the centre of the shape with a dark yellow paint.
Step 10:
Grab a gold gel pen and outline the yellow areas to add a little sparkle.
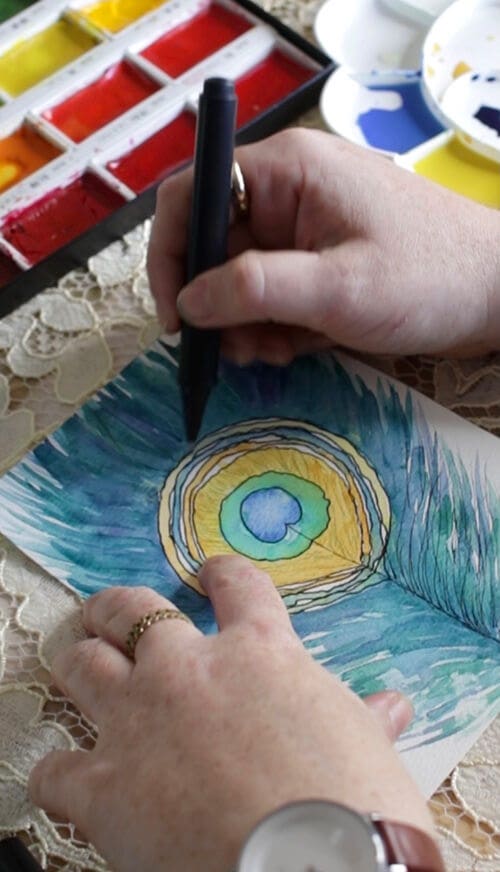
Step 11:
With a black felt tip pen, outline all the circular sections. Add a few extra flicks to highlight the feathers.

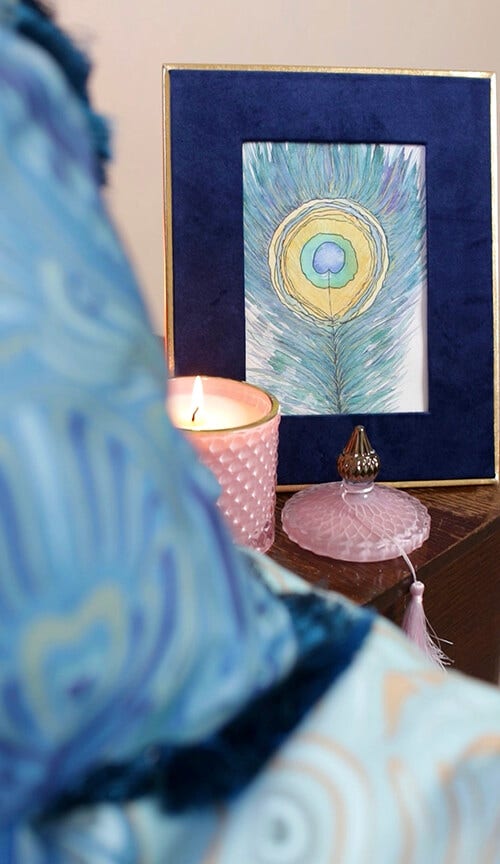
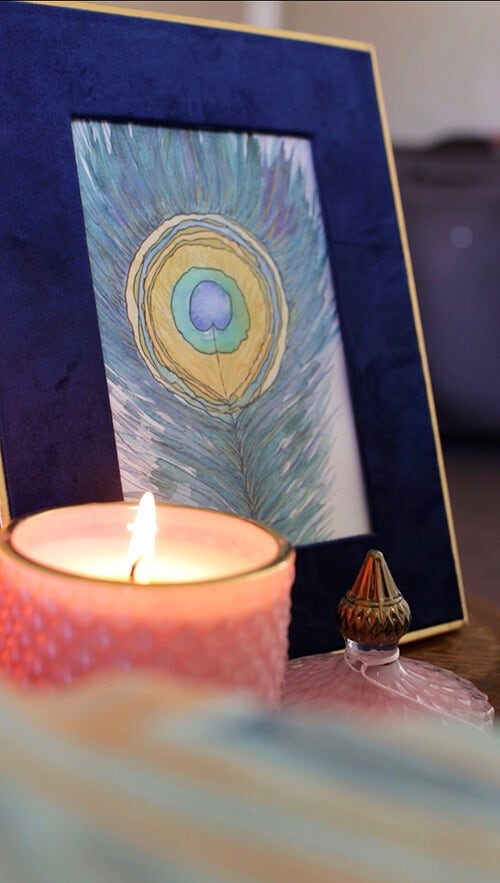
Step 12:
Finally, pop your finished peacock feather into a photo frame – it looks beautiful in our Luxury Velvet Frame!
There you have it! A fabulous peacock watercolour print that you can easily replicate at home.
You can watch Holly’s ‘How To’ video tutorial over on our Instagram page here.
If it’s inspired you to get crafty, we’d love to see your results - tag @joebrowns on Instagram so we can see your masterpiece!
For more crafty inspiration, head here to check out our guide on ‘How To Make A Recycled Hair Scrunchie’. Fancy sprucing up your wall? Why not take a look at ‘How To Make A Recycled Wall Hanging’ or give an old lamp a revamp with ‘How To Upcycle A Lamp With A Joe Browns Twist!’
Got a crafty request? Let us know what you’d like to see next in the comments below.
Scroll to top
-
- Latest Inspiration
- How to Wear and Style a Boho Dress
- How to Style a Jacket with a Spring Dress
- A Guide to Styling Heritage Jackets
- 6 Timeless Ways to Style a Leather Jacket
- The Detail Behind Our Dolce Vita Dress
- How To Style Red
- Valentine's Day Styles To Fall In Love With
- The Story Behind Our White Blouse
- 8 Ways to Style Your Favourite White Blouse
- Colour Edit: Shades Of Indigo
- Give Winter The Boot
- Spring Womenswear Top Picks
- Spring Menswear Top Picks
- 10 Ways to Welcome Boho Style Into Your Wardrobe
- View Our Inspiration & Ideas


